In August, with the room at 30°C and the light fixture running eight hours a day, tank temperature climbs on its own. The simplest and cheapest fix has been around forever: a fan clipped to the tank rim. It cools by evaporation, costs very little and genuinely works. The fan isn’t the problem — leaving it running when it isn’t needed is.
In this guide we build a temperature-controlled cooling fan with an ESP8266 and a DS18B20 probe: it kicks in above a threshold you choose, stops once the tank has come back down, and leaves you a record of what happened while you were at work.
Why a “smart” fan instead of one that’s always on
A fan plugged straight into the wall and left running cools at night too, when the tank has already dropped, and on days when there was no need at all. You pay for that twice. First in evaporation: a fan blowing across the surface can evaporate several litres a day at the height of summer, and if top-off doesn’t keep pace, salinity rises — in a reef tank that’s every bit as serious as the heat.
The second cost is swing. Cooling non-stop often drags the tank below its ideal value overnight, only for it to climb again during the day: exactly the daily excursion that corals, SPS in particular, tolerate worse than a slightly higher steady value. A temperature-controlled fan only works inside the window where it’s actually needed — the same logic a chiller costing hundreds uses.
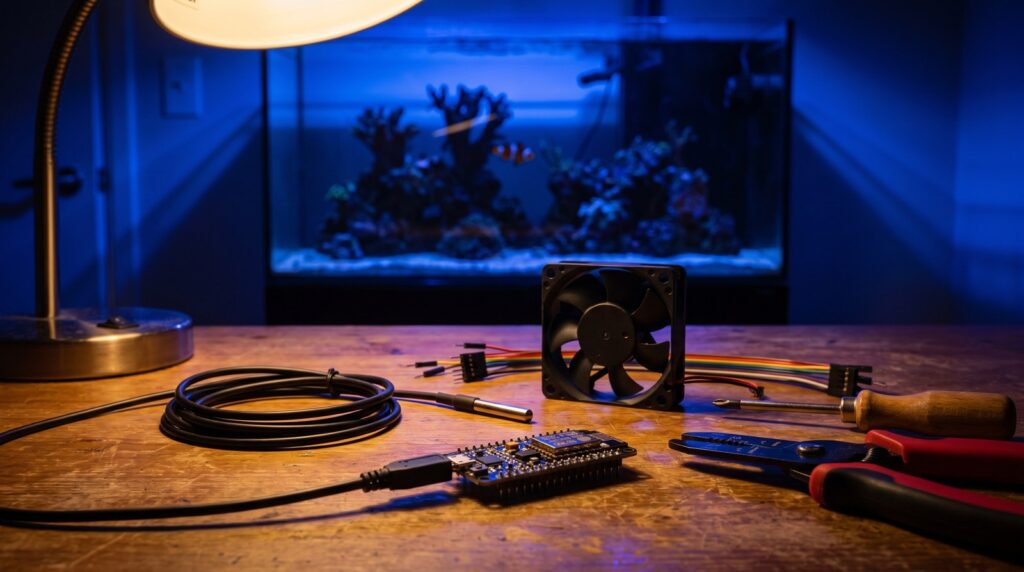
What you need: the parts list
The list is short and everything is easy to source:
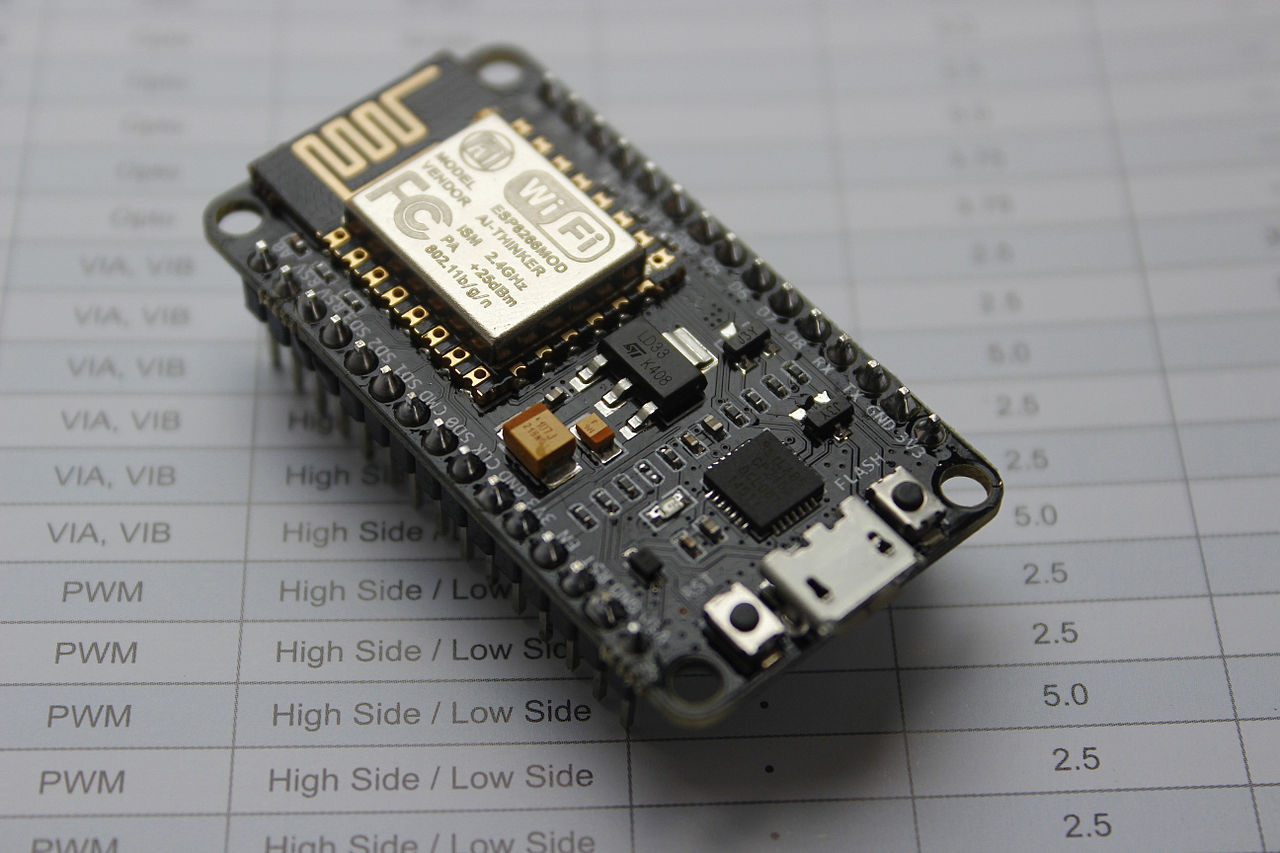
- An ESP8266 board (a NodeMCU, for instance): a microcontroller with built-in Wi-Fi, the brain of the system.
- A waterproof DS18B20 temperature probe, the one with the stainless steel tip and a long cable: digital, accurate, no calibration needed.
- One or two fans, 80-120 mm, the kind used in PCs, plus a power supply.
- A relay module or a smart plug to switch the fans on and off.
- A pull-up resistor, dupont wires, an enclosure and a minimum of bench tools.
None of it calls for tricky soldering or an electronics background: patience, a soldering iron and some curiosity about how it works will do.
The logic: threshold, hysteresis and common sense
The whole system boils down to two numbers. The first is the threshold: the temperature above which the fans start, say 27.5°C. The second is hysteresis: how far the temperature has to come back down before they stop, typically 0.3-0.5°C.
Hysteresis isn’t textbook trivia. Without it, the moment the fan brings the tank to 27.49°C the system switches off, the temperature climbs straight back to 27.51°C and it switches on again — dozens of times an hour. The fans stutter, the relay clicks endlessly and neither lasts long. With half a degree of hysteresis the cycle becomes long and calm: on, a few minutes of work, off.
One last word on common sense: any automation is a help, never a guarantee. A probe can fail, Wi-Fi can drop, a relay can weld shut. If you run a heater, keep its mechanical thermostat set as a safety net, and never let a microcontroller be the only thing standing between your tank and trouble.
Building it, step by step
The build itself — parts, wiring, firmware, first Wi-Fi connection — is documented step by step, with photos and diagrams, in the three-part guide on this blog:
What’s left here are the two choices that separate a system that works from one that gives you jumpy readings.
Wiring the DS18B20 probe
The DS18B20 uses three wires — power, ground and data — with a 4.7 kΩ pull-up resistor between data and power: it’s the one extra component you can’t skip, and without it no reading arrives at all.
Where you put it matters as much as how you wire it. It belongs in an area with decent flow, away from the heater’s output and out of the return pump’s direct jet, and deep enough that it never breaks the surface as the level drops through evaporation. A probe parked in a dead corner will faithfully report the temperature of that corner, not of your tank.
Fans on the rim: getting the position right
Angle the fans to blow across the water surface, not straight down into it and not upwards: it’s the grazing airflow that carries the vapour away, and the heat with it. Keep them a few centimetres above the surface and away from the light fixture, which won’t thank you for salt spray.
Budget for salt creep: wherever humid salty air travels, salt builds up — on grilles, cables and screws. An occasional rinse of the blades in fresh water keeps the fans alive and their output steady.
Connecting it to the portal: thresholds, charts and alerts
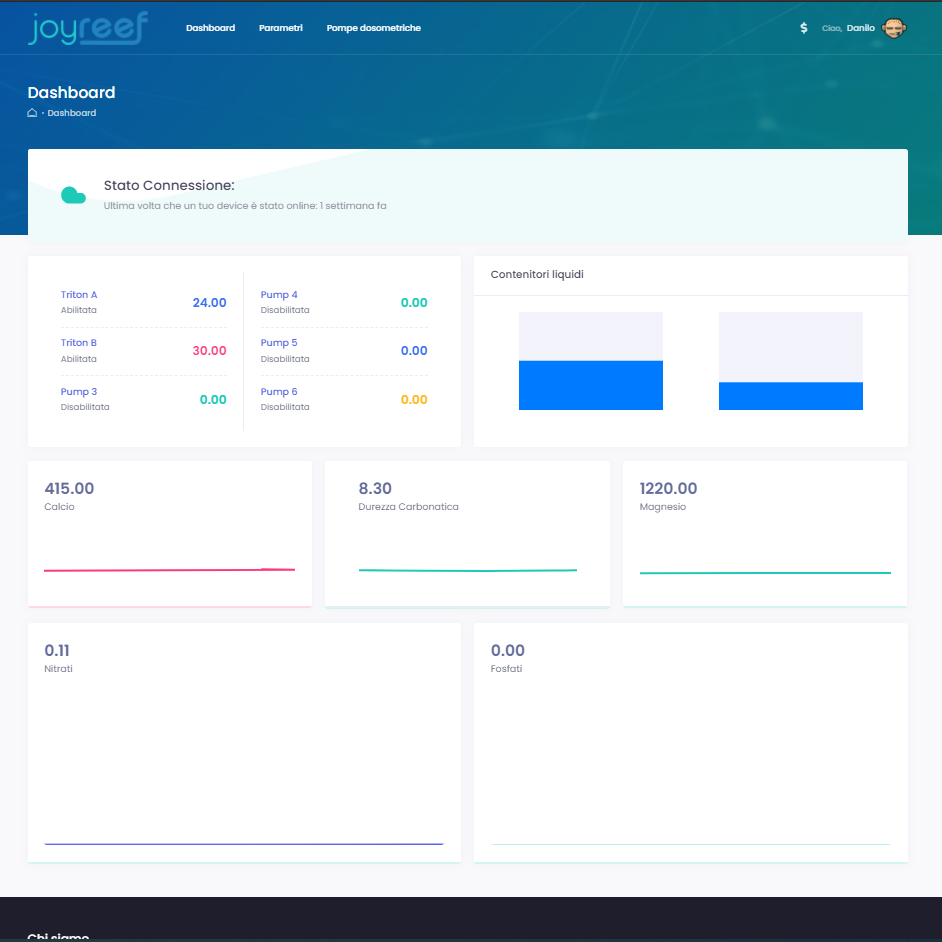
An ESP8266 switching a fan is already useful. It becomes a different tool once you connect it to a portal: the controller publishes temperature over MQTT, and from there you get history, charts, thresholds you can change from your phone and alerts when something drifts off track.
On JoyReef the fan isn’t configured by hand-writing rules: you go to Automations → Temperature rules, set the maximum threshold and hysteresis in the High temperature panel and pick the plug to drive. Everything else — switching, timing, history, alarms — is handled for you. The step-by-step guides on the portal cover the whole path, from flashing the firmware to the first reading on the dashboard.
The real value, though, isn’t the automation: it’s the history. Looking at the week’s chart and seeing when the tank rises, by how much and how long it takes to recover tells you whether fans are enough or whether this is the year to think about a chiller.
The quick alternative: a Tasmota smart plug
If soldering isn’t your thing, there’s an honest shortcut: an ordinary fan on a Tasmota-compatible smart plug, driven by the same temperature rules in the portal. You still need a probe measuring your tank, but there’s no wiring to build.
It’s the fastest route to the result, and nothing stops you starting there and moving to the DIY build a month later, when curiosity takes over.
Safety: salt water and electricity don’t mix
Salt water conducts and is brutal on electrical contacts, so a few precautions aren’t fussiness:
- Power supplies and power strips above water level, never on the cabinet floor where drips collect.
- A drip loop on every cable entering or leaving the tank: the loop sends water onto the floor instead of into the socket.
- A closed enclosure for the electronics, with cable entries facing downwards.
- An RCD on the aquarium circuit: it costs little, and around water it’s the one protection that really counts.
Building your own controlled fan is one of the most satisfying projects you can take on for your tank: little money, an afternoon of work and one summer problem gone. Automation helps you notice sooner and intervene less often, but the aquarist’s own eye is still the best sensor you own.
The full step-by-step guides live at portal.joy-reef.com/guide — and with the free beta you can connect your fan to the portal in minutes 👉 portal.joy-reef.com/beta